|
Workspace 7.1.0
|
|
Workspace 7.1.0
|
A Workspace plugin is a collection of Operations, Datatypes and Widgets that are built on top of Workspace. For example, you could create a Workspace plugin that provides a suite of image processing operations. This tutorial is the first of a set of tutorials which will demonstrate how to create a simple Workspace plugin containing an operation, a datatype and a widget.
By the end of this, the first developer tutorial, you will:
In the follow-up tutorials, we will learn to add operations and datatypes to our plugin:
The following is suggested as pre-reading for this tutorial if you are unfamiliar with C++:
Workspace provides a set of code wizards which you can use to automatically generate the basic building blocks for a new Workspace plugin. To start the wizard for creating a plugin:
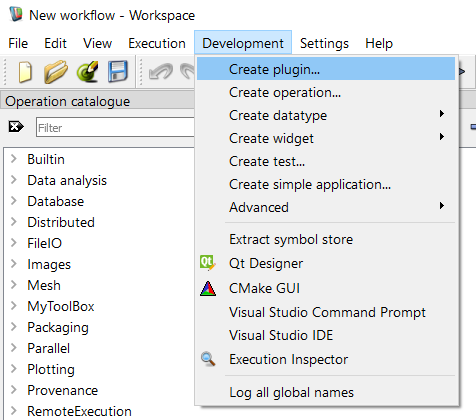
A window will be displayed that looks something like this:
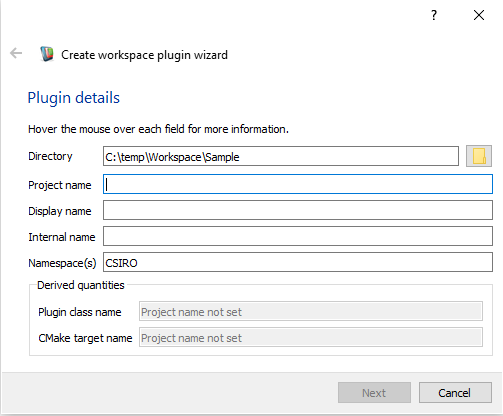
We can use this code wizard to generate the skeleton code we need to create our plugin. Start by filling in the fields on the form:
Our form will now look something like this:
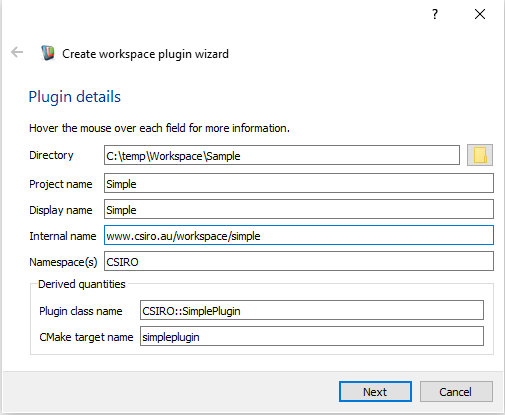
If we now look at the bottom of the plugin wizard, we will see some derived values. Workspace is showing us the name of the Class and CMake target that it is going to auto-generate. Next:
You will now see a screen showing a list of plugins that can be linked to your plugin.
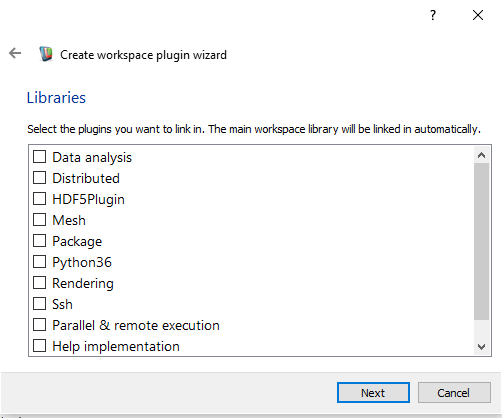
If your plugin depends on code in any of the provided plugins, you will need to select it here. In this tutorial:
The next screen shows copyright notices that you can include in each of the source files in your plugin.
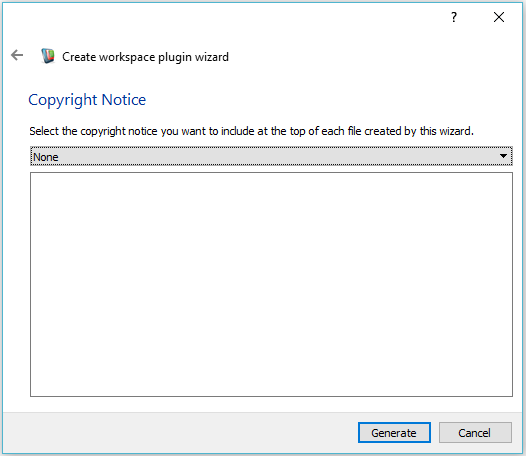
For the purposes of this tutorial:
C:\Program Files\csiro.au\workspace\appdata\Workspace\copyrights
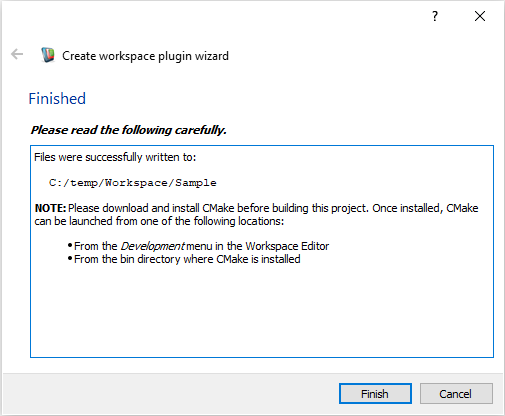
Workspace will now generate the code for your plugin, and place it in the directory that you specified . When completed it will display the following dialog, please read it and then click Finish.
If you navigate to the directory specified you will see that it has the following contents:
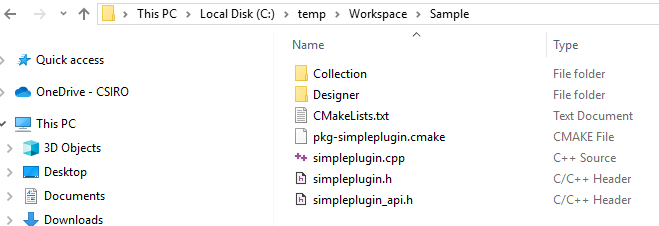
For more details about the code generated, see Writing a Simple Workspace Plugin - looking at the code or click on one of the links to individual files below.
You are now ready to build your plugin. We will assume that you are using the same CMake build system used by Workspace. Building your plugin is a two-stage process. The first step is to run cmake on the CMakeLists.txt file and the second is to run make (or nmake or use Visual Studio on Windows). There are a few variations of the cmake step, but we will focus on the two easiest approaches here.
The easiest way to carry out the cmake step is to use the interactive tools ccmake or cmake-gui. They are essentially the same except ccmake is a text-based tool whereas cmake-gui is a graphical tool. The latter is perhaps a little easier to use, but the same general concepts apply to both.
When using cmake, you essentially build up a list of options and cache entries describing the system and the way the software should be built. It works by running cmake in a configure step repeatedly until nothing changes, then a final generate step to create the Makefile's (or whatever is the equivalent for your particular compiler and platform, e.g. Visual Studio project files). Each time the configure step is run, new cache variables may be created or modified, and both ccmake and cmake-gui highlight changed variables to the user. Only when a configure step results in no changes will the generate step be enabled.
The first time you run ccmake or cmake-gui on this example and on any example which has a similar CMakeLists.txt file, it is advisable to run the CMake GUI from the Development menu of the Workspace editor.
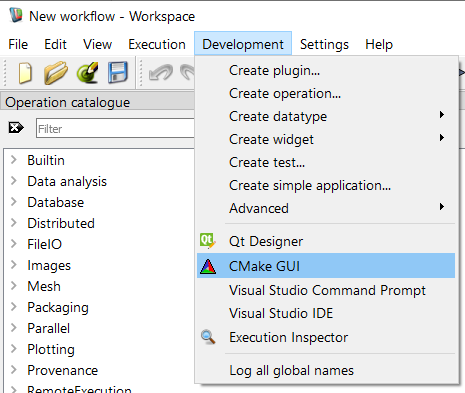
Depending on your platform, you may need to manually specify the path to cmake-gui executable in Workspace settings.
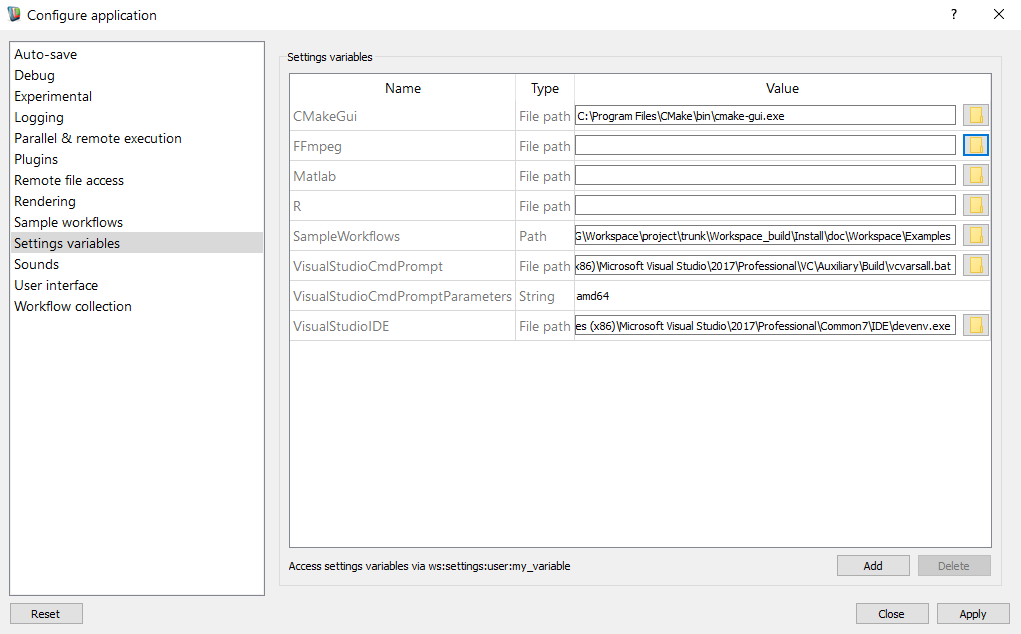
This will set some environment variables so that CMake can find the various things it needs. If you run ccmake or cmake-gui without these environment changes, it will most likely complain that it could not find a bunch of thing. You are strongly advised to launch the CMake GUI from the Workspace editor to avoid having to deal with any of the files, directories, packages, etc. that cmake needs to find.
cmake-gui, it will ask you what type of project to build. If you will be using nmake from a command prompt or you are using Qt Creator, choose "NMake Makefiles". If you want to use Visual Studio 2019 project files, select Visual Studio 2019 (or 2019 64bit if you want to build on a 64bit platform).After you open CMake you will have to specify the source code directory where your plugin code is and the output directory. In the following screenshot, done on Windows, you can see that these have been set to:
C:\temp\Workspace\Sample

C:\temp\Workspace\Sample_Build
Once this is done you should click Configure.
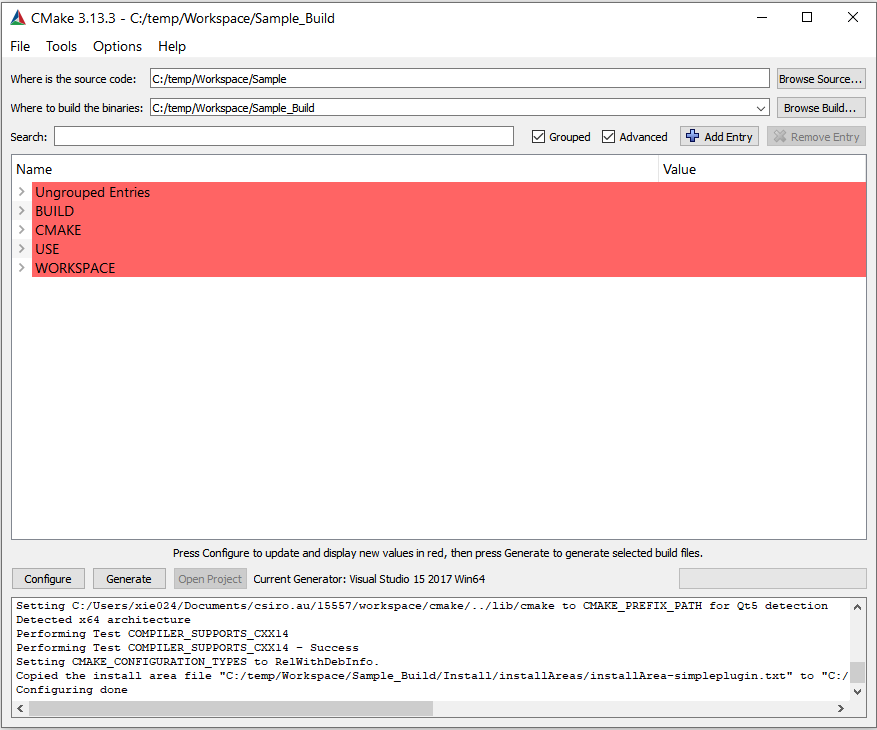
You may need to run Configure two (or more times), essentially until all the red sections disappear from the top pane and there are no errors reported in the bottom pane (although you may get some feedback messages in the bottom pane.) When CMake configures your project correctly you then need to click Generate to emit the build files.
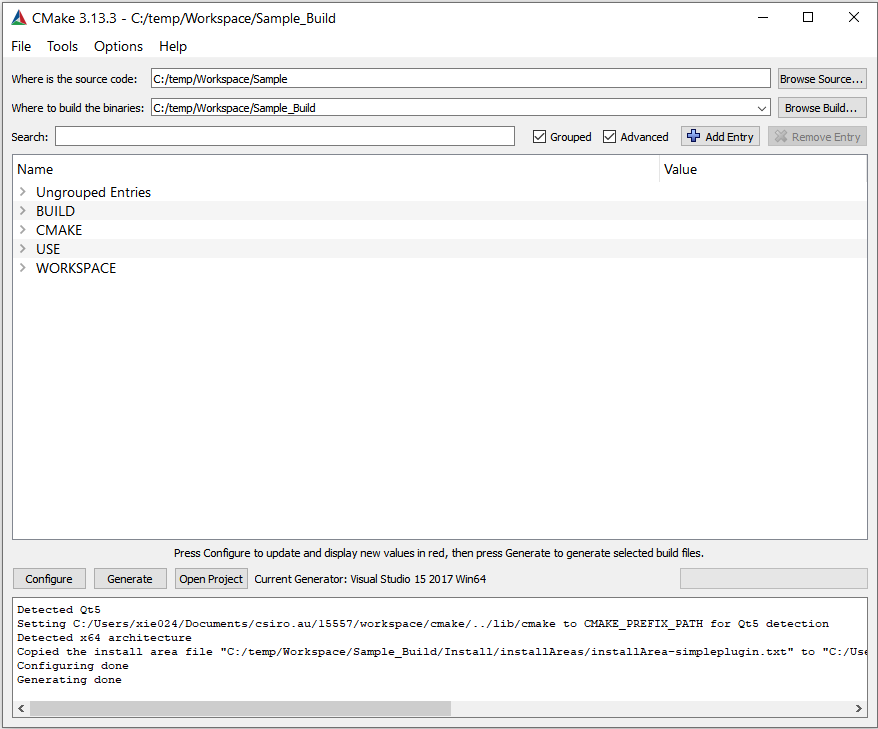
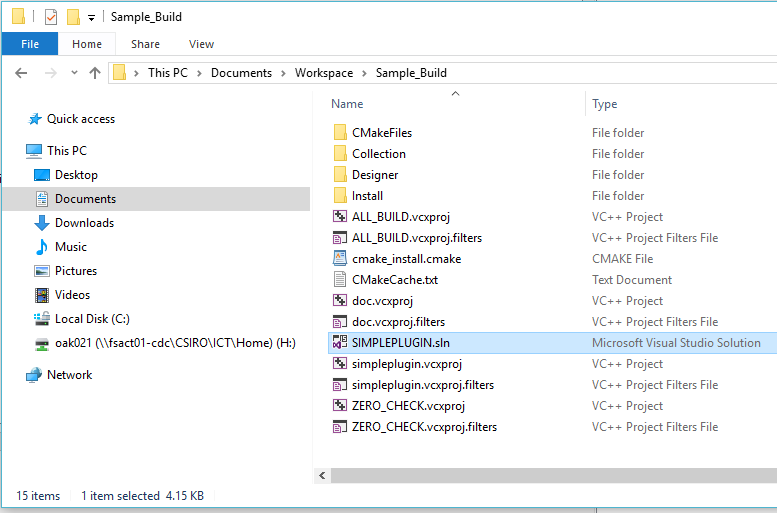
You can then build the project. If on Windows and using Visual Studio 2019 your solution file should be located somewhere like this:
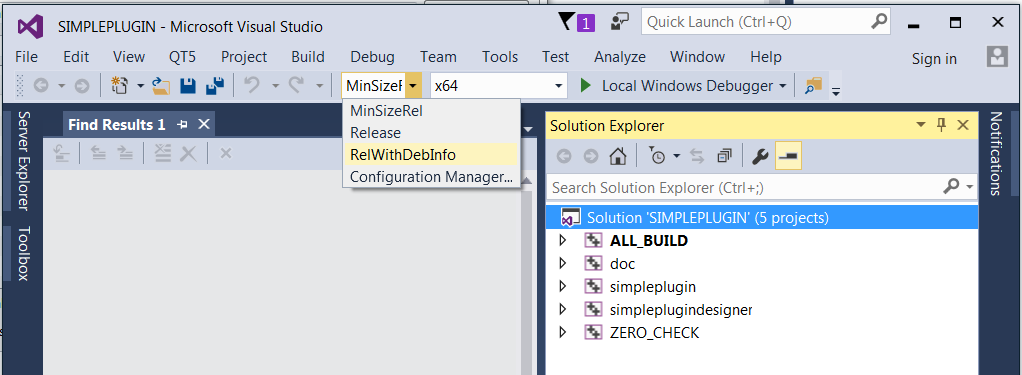
Before building your plugin, ensure that your solution configuration is RelWithDebInfo.
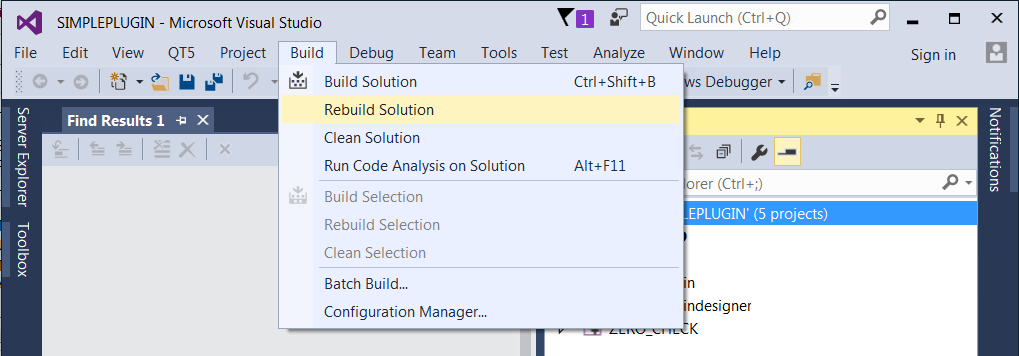
You can then build the plugin like this:
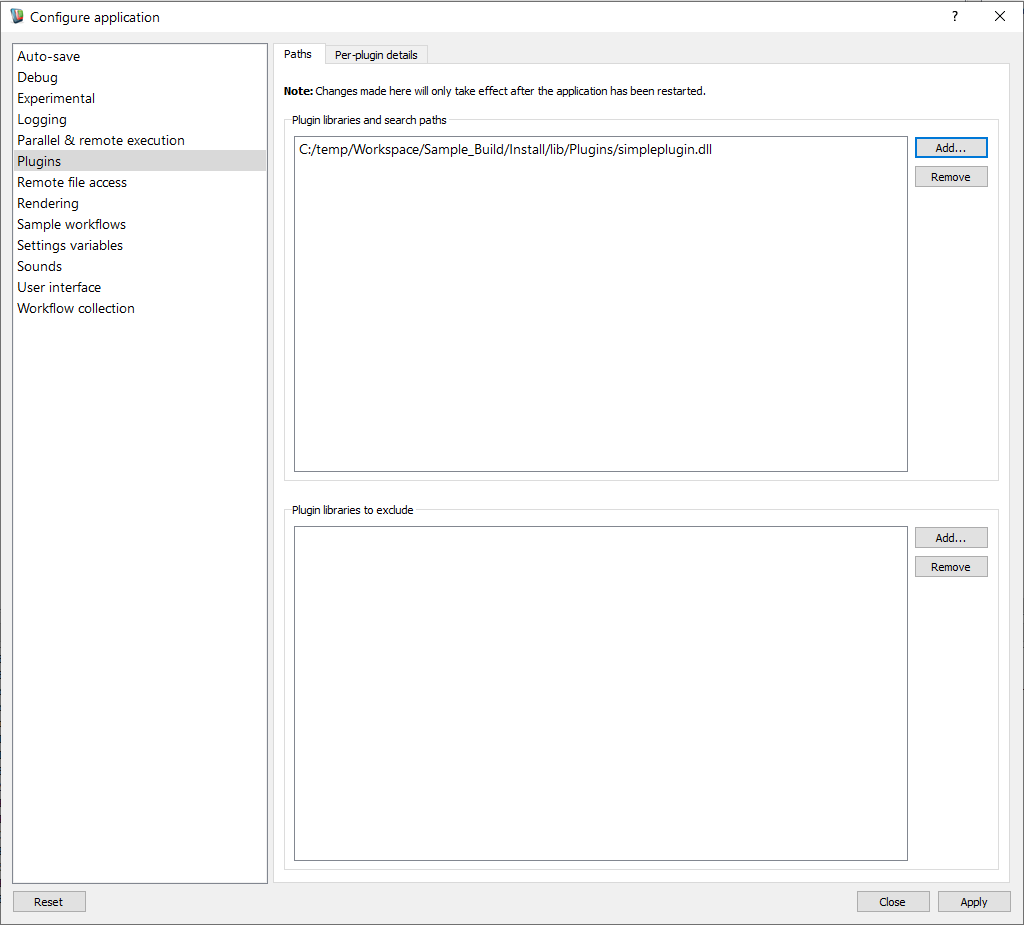
Once you have managed to build the plugin, all that remains is to tell Workspace about it. Workspace will look in a directory relative to its install location and this is how it finds the plugins that come with it. There are three ways of specifying the location of plugins as indicated in Workspace Developer Tips and Tricks. Giving the second way as example, you can direct Workspace to find them through the Workspace editor's Settings --> Configure Application menu (or Workspace --> Preferences if you are on a Mac).
Click on "Plugins" in the list on the left and you will be able to add or remove additional plugins through the "Plugin libraries and search paths" box that appears. Note that any plugins you list here will take precedence over any others that Workspace finds with the same name. After you have added the path to your own plugin, restart the Workspace editor and your plugin should now be loaded and available for use.
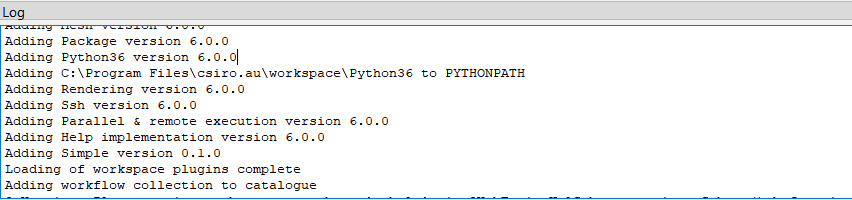
And finally you can see your Plugin loading when you next start Workspace!
Wow, this is a long and complex tutorial - congratulations on reaching the end!
This tutorial has introduced you to the essential elements of writing an empty Workspace plugin. The main points to remember are the following:
extern "C" block for Workspace to be able to identify it as a Workspace plugin and to load it.Now that we have an empty plugin, we need to add some useful things to it! The next three tutorials deal with this: