Workspace 6.21.5
Writing a Workspace Datatype

Introduction

Workflows consist of both Operations and DataTypes. The operations do the processing, and the data types encapsulate the data being passed from one operation to the next. In this tutorial, we are going to learn how to create our own custom data type.


Contents


Sample files used in this tutorial


Using the "Create Datatype" code wizard

In the previous tutorial, we used a code wizard to generate the code for a Workspace operation which was automatically added to our plugin. In this tutorial, we're going to use the Create DataType wizard to create our own custom data type to pass around between operations in workflows. Specifically, we're going to create our own Rectangle class. To start the wizard:

  1. Navigate to the Development menu and select Create Workspace datatype and then Create composite datatype...
    Finding the code wizard
  2. A window will be displayed that looks like this:
    The create data type wizard

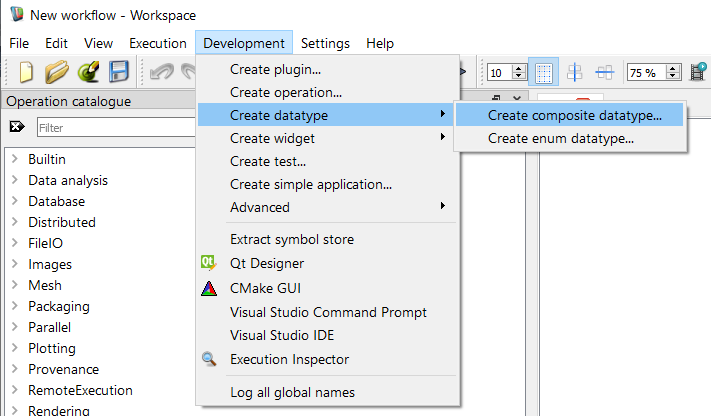
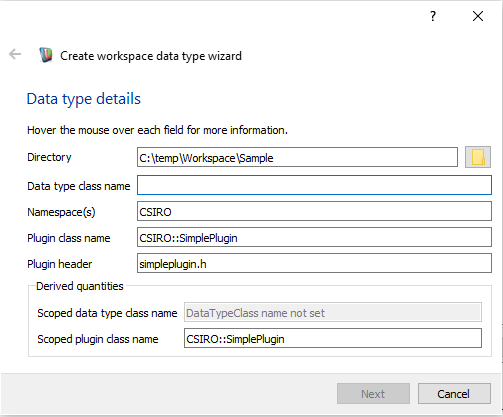
This wizard will generate the skeleton code required for a new Workspace data type. Let's fill out the fields on the form:

  • Directory: The directory in which our datatype source files will be created. Point this to the same location as our plugin source.
  • Data type class name: The C++ class name for our new operation. We will call ours "Rectangle".
  • Namespace(s): The namespace used for the class. We will use the 
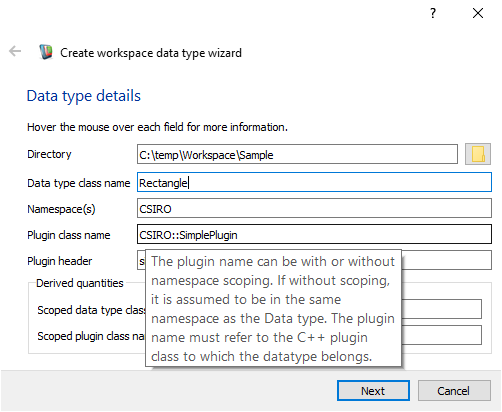
CSIRO namespace, as we did in the previous two tutorials.
  • Plugin class name: The full-scoped name of the plugin class that will contain this data type. We're going to use the plugin we created previously, CSIRO::SimplePlugin.
  • Plugin header: The name of the header file that contains the definition of the Workspace plugin. Again, we refer to the file we generated in the first developer tutorial: simpleplugin.h
Note
At any time you can check the purpose of these fields by hovering over them with the mouse and reading the tooltips.

Our form will now look like this:

Our values entered into the wizard

If we now look at the bottom of the plugin wizard, we will see some derived values. Workspace is showing us the scoped class name of the new datatype, as well as the scoped class name of the plugin that it is going to be added to. Next:

  • Click Continue or Next

The wizard will now show a screen for creating data members:

The data members screen in the wizard

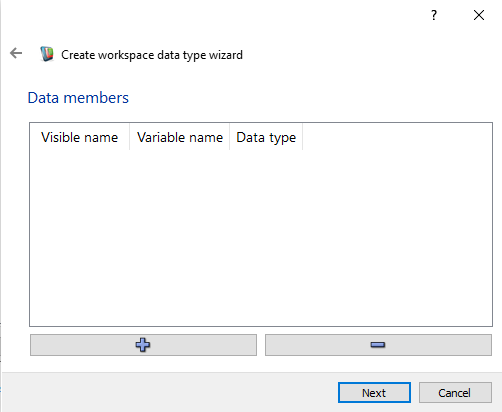
Our new datatype, Rectangle, is going to be a very basic representation of a geometric rectangle. This means we only need two data members: a width, and a height. We'll use the double datatype to represent our width and height:

  1. Click the plus button twice. This will create two rows in the table
  2. Change the Data type of each row to double
  3. Change the Visible name of the first row to "Width" and the second row to "Height". This is the name that users of the Workspace editor will see when they are looking to modify the data members of our new Rectangle data type
  4. Change the Variable name of the first row to "width" and the second row to "height". This is the name will be used to represent the data member in the C++ code. The form should now look like this:
    The data members screen populated
  5. Click Continue or Next

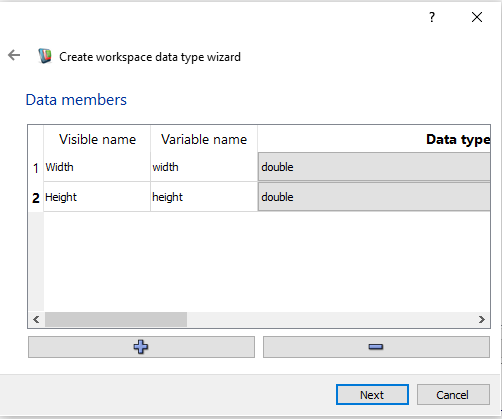
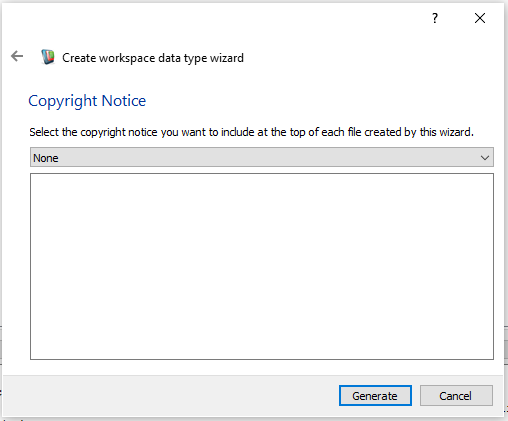
As we did with the plugin wizard, we will now get to select a copyright notice. We don't want one in this case.

Copyright Notice selection
  • Click Generate
Create datatype finished

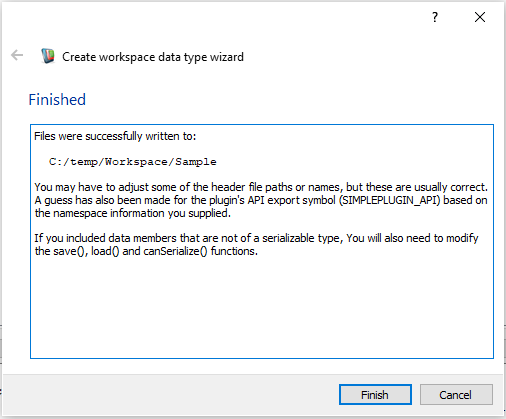
Workspace will now generate the code for our new datatype and place it in the directory that we selected earlier (the same directory into which we generated our plugin). If you navigate to this directory, you'll see that it has the following contents:

All the tutorial's files

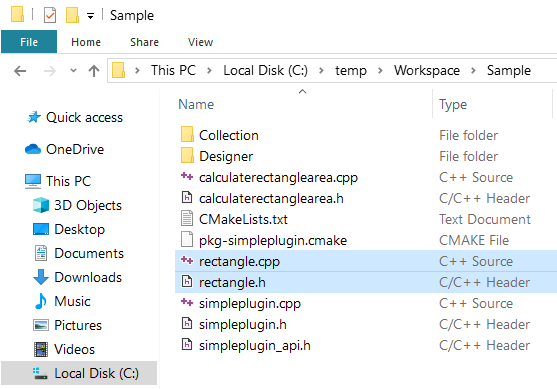
For more details about the code generated, see Writing a Workspace Datatype - looking at the code or click on one of the links to individual files below.

These are the source and header files that are used to build the new datatype. The header contains our class declaration, and the source contains our class definition. See also Updating the plugin.cpp and CMakeLists files

Using our new datatype

Now that we've defined our Rectangle, let's update our CalculateRectangleArea operation that we created in the last tutorial. Instead of accepting two double inputs, it will now accept one Rectangle input. Let's have a look at the changes:

#include "simpleplugin.h"
namespace CSIRO
{
class CalculateRectangleAreaImpl : public CSIRO::Application::TextLogger
{
// Allow string translation to work properly
Q_DECLARE_TR_FUNCTIONS(CSIRO::CalculateRectangleAreaImpl)
public:
CalculateRectangleArea& op_;
// Inputs and outputs
CalculateRectangleAreaImpl(CalculateRectangleArea& op);
bool execute();
};
Convenience base class for anything associated with an operation that needs to write text to the log ...
Definition: textlogger.h:66
Definition: simpleoperationio.h:43
Definition: simpleoperationio.h:230
Top level namespace for all Workspace code.
Definition: applicationsupportplugin.cpp:32
CalculateRectangleAreaImpl::CalculateRectangleAreaImpl(CalculateRectangleArea& op) :
CSIRO::Application::TextLogger(op),
op_(op),
rectangle_("Rectangle", op_),
area_("Area", op_)
{
// Make sure all of our inputs have data by default. If your operation accepts a
// large data structure as input, you may wish to remove this call and replace it
// with constructors for each input in the initialisation list above.
op_.ensureHasData();
// Recommend setting a description of the operation and each input / output here:
// op_.setDescription(tr("My operation does this, that and this other thing."));
// input1_.input_.setDescription(tr("Used for such and such."));
// output1_.output_.setDescription(tr("Results of the blah-di-blah."));
}

You will need to manually add an include directive for rectangle.h in this file. Notice that we now only have one input of type Rectangle and one output of type double. Let's have a look at the modified execute() function:

bool CalculateRectangleAreaImpl::execute()
{
const auto& rectangle = *rectangle_;
auto& area = *area_;
// =======================================================
// Put the implementation of your task or algorithm here
// =======================================================
area = rectangle.getWidth() * rectangle.getHeight();
// If your operation always succeeds, leave the following line
// returning true. Otherwise, add your own logic to determine
// whether or not the operation succeeded and return true only
// if no error was encountered.
return true;
}

Previously, we were multiplying two doubles together here. Instead, we're now multiplying the two doubles contained within our rectangle datatype. If you wanted to, you could implement this by adding an area() function to the Rectangle class and simply have the RectangleArea operation return the result of this function.

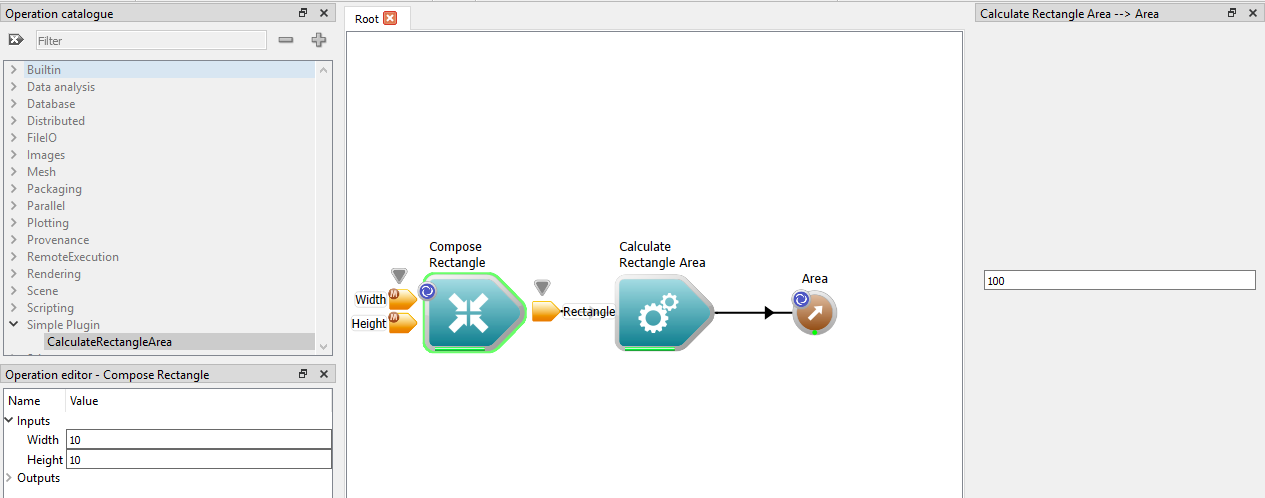
After we build the updated plugin and open up the Workspace editor, we should now be able to create a workflow that looks like this:

The rectangle data type being used in the workspace editor

Summary

This tutorial has introduced you to the essential elements of creating a Workspace data type. The main points to remember are the following:

  • Object groups are special types of Workspace datatypes that Workspace knows how to interpret. If your datatype extends ObjectGroup, you can use the ComposeGroup and DecomposeGroup operations to access and modify its members.
  • Any class can be made into a custom data type and you don't have to do anything special to your classes to make them known to Workspace. Instead, you use the provided pre-processor macros to define the factories that Workspace needs to use your class as a custom data type.

Next steps and further reading

You may wish to read further about a number of topics related to Workspace data types: