|
Workspace 7.1.0
|
|
Workspace 7.1.0
|
In many cases, instead of rendering directly to the interactive WSGLWidget, it may be desirable to render to an image off-screen. The image can then be saved to file, or composited with other images.
This tutorial provides an explanation of how to achieve off-screen rendering using Workspace. The steps involved are as follows:
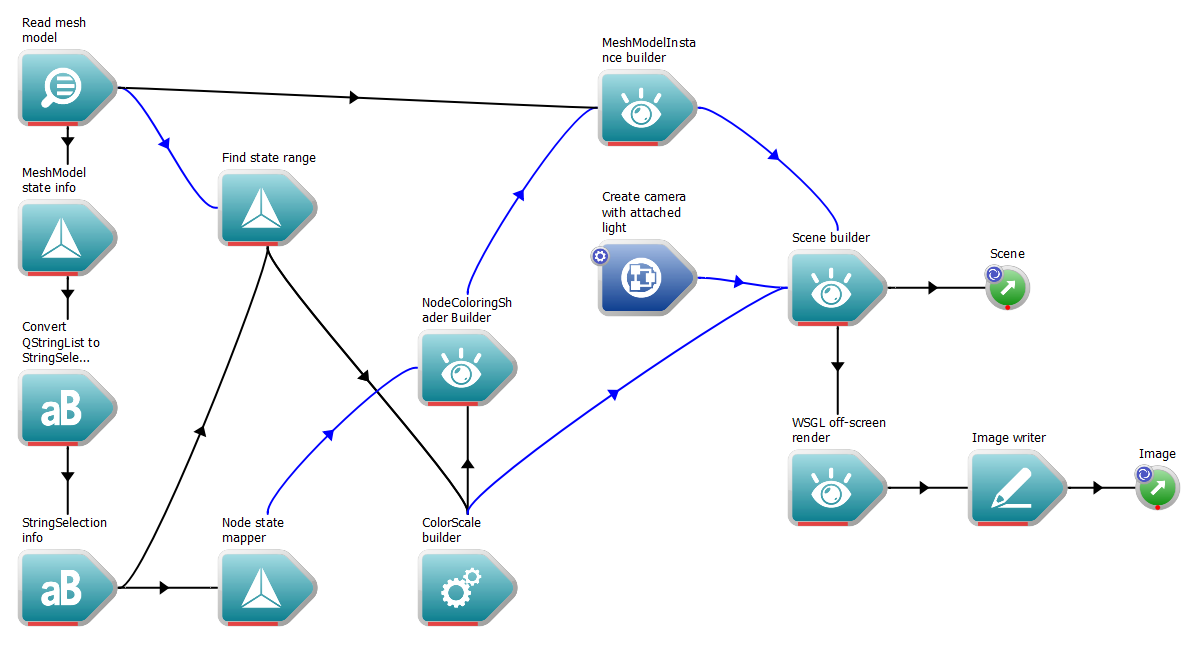
A sample workflow has been provided for this tutorial.
This tutorial assumes that you have completed the first two tutorials: Basic Rendering and Modifying a Model's Appearance. The steps in the tutorial build upon the workflow completed in the Model Appearance tutorial - if you did not complete this tutorial, please use the sample workflow for tutorial #2 as the basis to begin this tutorial.
In this tutorial, we are going to render the output of tutorial #2 to an image. To do this:
Rendering section of the Operation Catalogue, drag a WSGLOffscreenRender operation onto the workspace 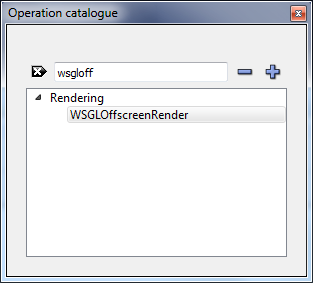
This is all we need to generate images. The WSGLOffscreenRender operation will output the images into its Image output.
To save our image to file, we need only create a single operation:
Images section of the Operation Catalogue, drag a ImageWriter operation onto the workspace canvas. 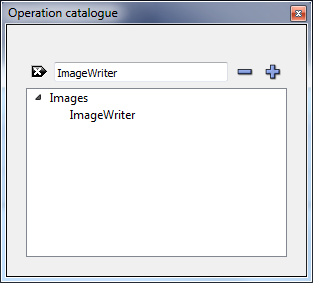
The scene will now have been written out to the specified file.
We have now learned how to use the basic off-screen rendering capabilities of Workspace.
The next and final tutorial in this series will explain how to visualize Visualising volume datasets volume datasets using Workspace.