Introduction
As workflows grow in size and complexity, it is helpful to break them into meaningful sections to help with both design and maintainability. Workspace allows users to abstract sections of their workspace workflows by nesting them within one another: workspaces can contain other workspaces.
Note that in order to complete this tutorial, you will need to start with the workflow that was constructed in the previous tutorial, Modifying and writing data. If you have not completed this tutorial, you can start with this sample workflow.
In this tutorial you will:
- Learn how to create a nested workspace to abstract workflow complexity
- Learn how to navigate a Workspace containing multiple nested workspaces
- Learn how to explode nested workspace contents if needed
- Learn about the different execution modes of nested workspaces
Just in case you get stuck, a sample workflow has been provided for you.
Contents
Creating a nested workspace
To make your workflow easier to understand, it can be useful to abstract parts of it away by nesting a sub-workflow within a Workspace operation. Once nested, a Workspace operation will operate much like other operations with the exception that it hides a sub-section of your workflow. This technique is useful for several reasons:
- It clearly labels functionally distinct sections of a workflow
- It simplifies the top-level workflow, making it easier to understand and maintain
- If desired, it can be used to control update and execution behaviour of a specific section of a workflow
In this tutorial, we are going to use nested workflows to abstract several functionally distinct sections of our previously created workflow. The functionally distinct sections we are going to create are as follows:
- Create a chart
- Write chart image
Create the "create chart" nested workspace
The first nested workspace we're going to create is one that encapsulates all of the functionality required to create a chart. To create our nested workspace, we do the following:
- Drag select the "Create DataSeries Map from Script", "Map data series", "Create chart object dictionary" and "Create chart" operations by left-clicking, dragging the selection box around the operations, then releasing the mouse button. Alternatively, hold the CTRL (CMD on Mac) key and select the operations individually.
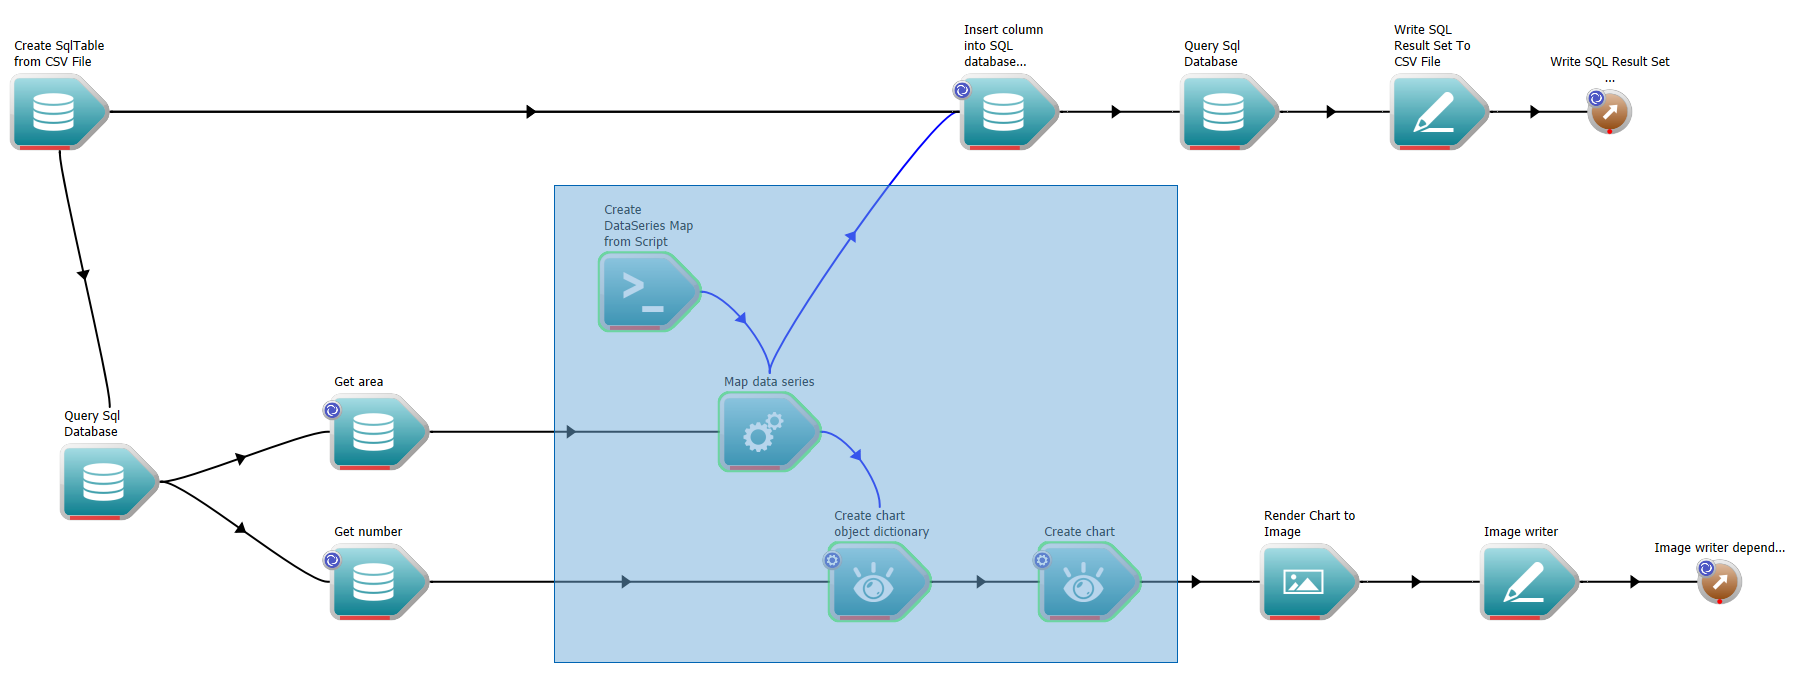
Selecting the charting operations
- Right click anywhere in the canvas and in the context menu select the "Create nested workspace from selection" menu item.
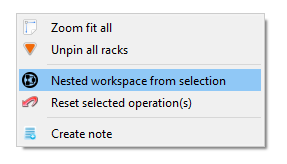
Create nested workspace context menu option
- This will create a nested workspace, by default named "Workspace" containing the selected operations. Change the name of the nested Workspace to "Charting".
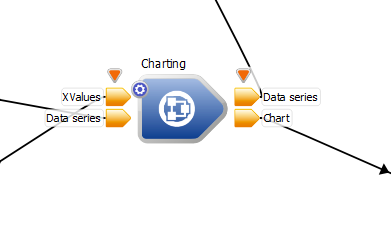
The new charting workspace
To see the contents of the nested workspace, we can either:
- Right-click on the newly created workspace operation and select "Edit workspace contents", or
- Double-click on the newly created workspace operation.
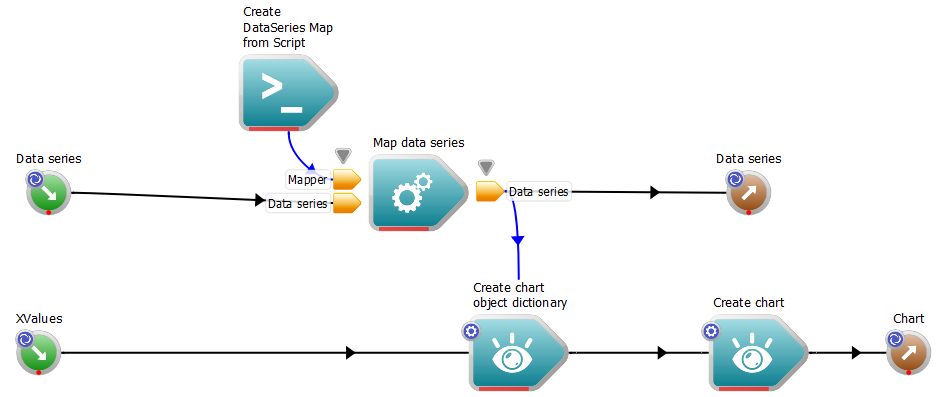
Contents of the new charting workspace
Notice that inside the nested workspace, the overall layout of our operations is the same as it was, but new WorkspaceInput and WorkspaceOutput operations have automatically been created and connected to the relevant inputs/outputs of the contained operations. WorkspaceInput operations are identical to WorkspaceOutput operations, except that rather than representing data flowing out of a workflow, they represent data flowing in.
Note that once we have navigated inside a nested workspace, a new tab is created at the top of the screen. We can switch between the various workspaces contained within our workspace by clicking on these tabs.
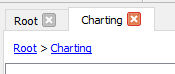
Switch between the currently viewed workspace using the tabs
- Note
- An empty nested workspace can be created by dragging an operation of type 'Workspace' from the operation catalogue onto the Workspace canvas. This is convenient when defining a functional area in a workflow prior to creating the actual functionality.
Create the "write chart image" nested workspace
To create the "Write image data" workspace, we do much the same thing:
- Drag select the "Render Chart to Image" and "Image writer" operations
- Right-click and in the context menu select, "Create nested workspace from selection"
- Change its label to "Write chart image" when prompted
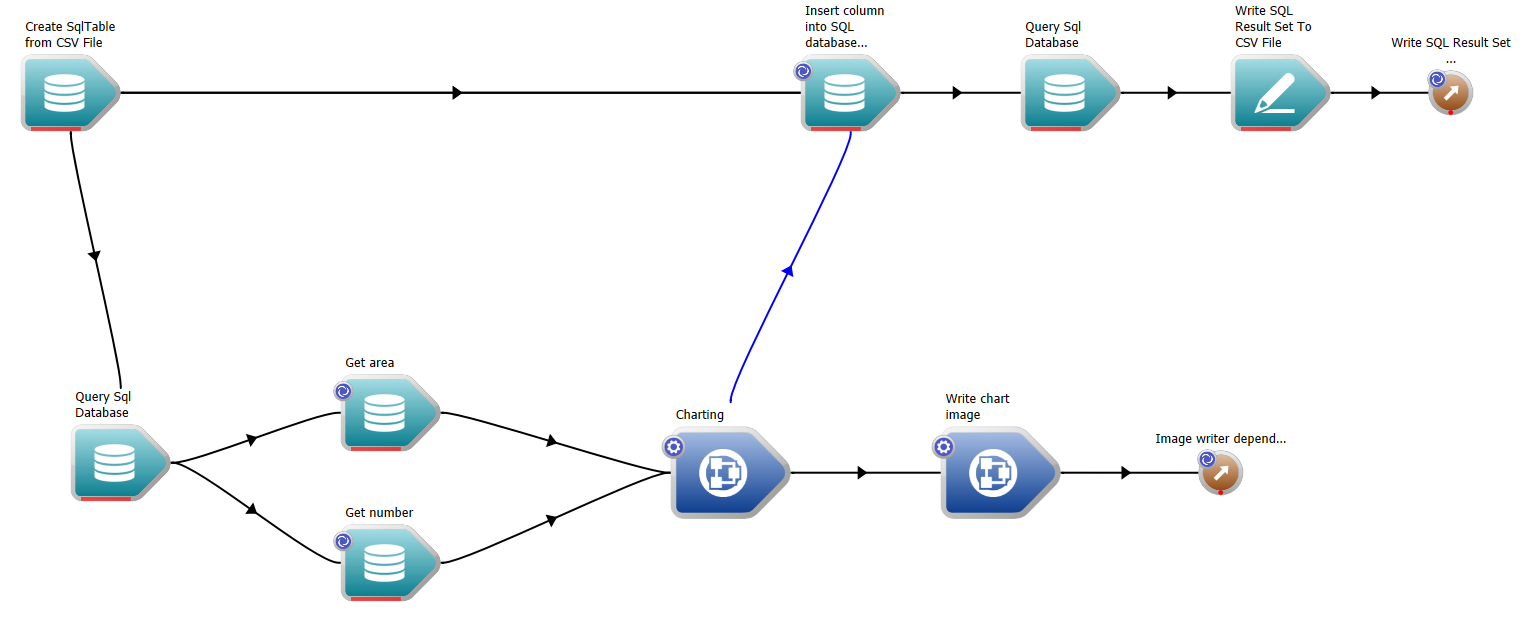
The workspace after adding a 'write chart image' workspace
Advanced workflow navigation
Once a number of nested workflows are created, it may be desirable to use an alternative technique for navigating the workspace other than the canvas. Workspace provides a tree-view widget for navigating the workspace hierarchy, allowing nested workflows to be identified by name and edited this way. To view it:
- Navigate to the "View" menu in the menubar
- Navigate to the "Docks" menu
- Make sure "Workflow tree" is selected
Nested workflows in the tree are shown and able to be navigated into just like every other operation in the tree.
Exploding workflows
Often a user may decide that a nested workflow should be removed and its contents placed back into the parent workflow. To do this:
- Right-click the relevant workspace operation
- From the context menu, select, "Explode contents"
Workflow execution control
Nested workflows have two different settings for their update behaviour during execution:
- Non-atomic mode (the default). Non-atomic workspaces simply abstract a set of operations on a workflow by encapsulating them into a container with inputs/outputs. Nesting operations inside a standard, non-atomic workspace will not alter the execution behaviour of the contained operations in any way: if an input of a non-atomic nested workspace is marked out-of-date, only the internal branches of the workspace connected to the input in question are marked out-of-date. For this reason, non-atomic nested workspaces do not possess Dependency inputs or outputs, because they do not execute as a single, atomic unit.
- Atomic mode. Atomic workspaces represent an atomic unit of computation - like an operation - and as such are able to be executed in parallel or remotely executed. In order to make this possible, the operations are treated like a 'black box' in the same way an operation is - if any input of the workspace is marked out-of-date, the entire operation is marked out-of-date and must be re-executed from the beginning, regardless of how the inputs connect to the outputs inside the workspace. Certain situations, such as connecting a workspace to the RunInParallel operation, will require that the workspace be marked as atomic.
To change the form of a nested workspace:
- Right-click the workspace and select "Properties..."
- Click on the "Workspace" tab
- Change the "Update behaviour" radio button from "non-atomic" to "atomic" as required
Summary
This concludes the tutorial on nested workflows. We have now learned how to:
- Create a nested workspace to abstract workflow complexity
- Navigate a Workspace containing multiple nested workspaces using the workflow tree widget
- Explode nested workspace contents if needed
- Use the different execution modes of nested workspaces
A sample workflow for this tutorial can be found here.
Next Steps
The next tutorial in this series is: