Xander-Q

Project Documentation - development setup


Xander-Q Installation under 64-bit Windows 10 machine

The following sections describe the steps needed to setup Xander-Q development environment running on 64-bit operation system.

  1. Download and Install Java JDK
  2. Download and Install Eclipse
  3. Load Eclipse
  4. Install SVN plugin (Subclipse)
  5. Setup Xander-Q SVN repository

Download and Install Java JDK

Note:

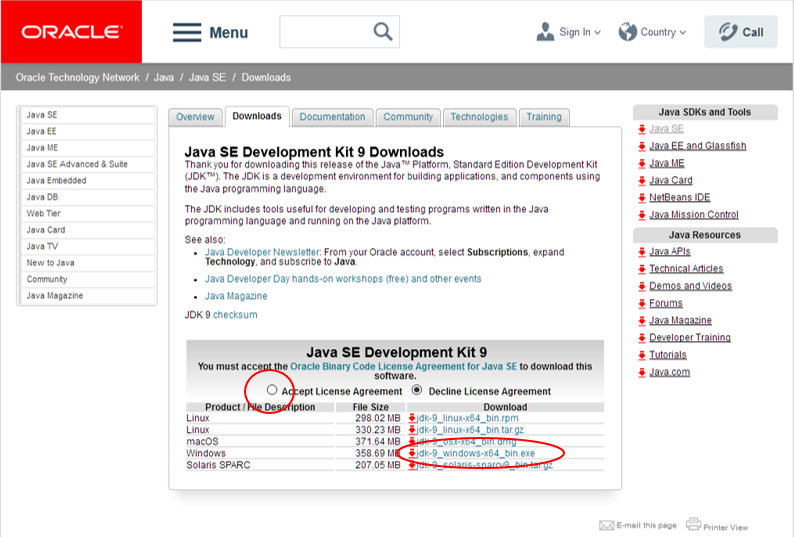
    To install Java, go to the Java download page: http://www.oracle.com/technetwork/java/javase/downloads/index.html.

  1. Click highlighted section to go to next page

  2. On the next screen you will be presented with the different download options. First, have a lawyer read the Oracle Binary Code License Agreement for Java SE thoroughly and click "Accept License Agreement" if you agree to the terms. Then choose the Windows x64 bit version.

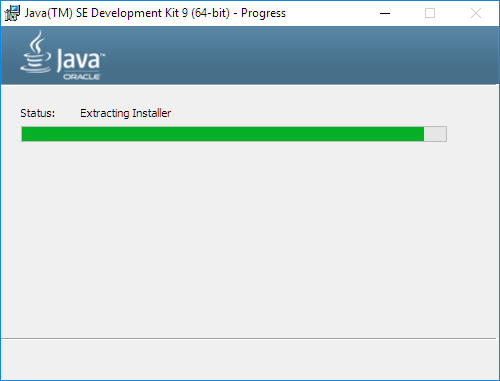
  3. Once the installer is downloaded, navigate to your downloads folder and double click on the downloaded file jdk-9_windows-x64_bin. (the version might be different depending on when you downloaded it)

  4. The Java SE Development Kit 9 (64-bit) – Setup window should appear. Choose Next > on the first screen.

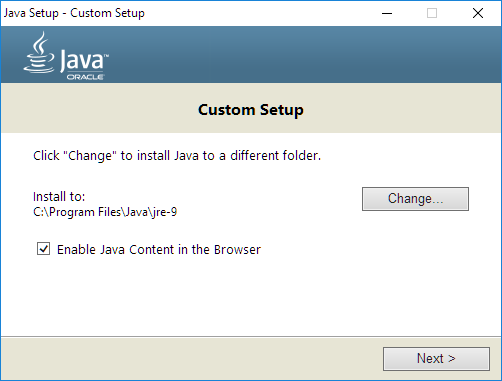
  5. In the Custom Setup page, review the settings and select Next >.

  6. Now, the Progress bar will move until it’s complete.

  7. Optional. If you don't want to install Java Runtime Machine, uncheck the check box and then select Next >.

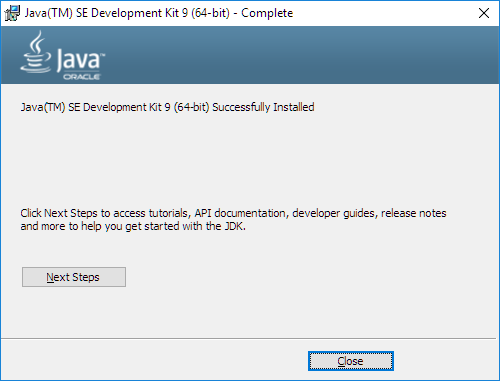
  8. After the installation completes successfully, you will see the Complete screen. Click on Close to close the screen.


Download and Install Eclipse

Note:

    To download Eclipse, go to the Eclipse web page: http://www.eclipse.org.

  1. Click highlighted section to go to download page

  2. Click highlighted section to go to download package page

  3. Assuming you are using a 64 Bit version of Windows, choose Windows 64 Bit next to Eclipse for RCP and RAP Developers.

  4. Select a mirror to download Eclipse and then select Download.

  5. Unzip the download file eclipse-rcp-oxygen-1-win32-x86_64.zip to "C:\Users\[user name]\Documents\".

  6. Right Click on the Eclipse executable and select Send to > Desktop (create shortcut) to create a shortcut on your home screen.


Load Eclipse

Note:

  1. Double click on Eclipse short-cut on Desktop to start loading eclipse.

  2. Starting eclipse now.

  3. Dialog prompts to select a workspace. This is the location where the working files for Xander-Q project will be stored. Change it to C:\Users\[User]\workspace\XanderQ.

  4. When eclipse first loads, it will look like this.


Install SVN plugin (Subclipse)

Note:

    Visit this link: http://subclipse.tigris.org/ for more details.

  1. On top menu, select "Help" –> "Install New Software".

  2. Puts "http://community.polarion.com/projects/subversive/download/eclipse/6.0/update-site/" in the "work with" textbox and click on the Add button. Select highlighted components to install. Then select Next > button.

  3. Select Next > button to continue the installation.

  4. Select I accept the terms... checkbox and select Finish > button to close the installation dialog.

  5. The installation is on progress.

  6. Select Install anyway button to continue.

  7. Select Restart Now button to restart eclipse to take effect.


Setup Xander-Q SVN repository

Note:

  1. Go to SVN Repository by selecting Windows -> Open Perspective -> Other on the top menu.

  2. Select SVN Repository Exploring and then select Open button.

  3. After closed welcome page and SVN Repository prespective will appear.

  4. Select highlighted icon to setup Xander-Q repository details.

  5. Puts "https://svnserv.csiro.au/svn/Xander-Q" in URL input. Then enter CSIRO ident and password. Check save authentication option and then select Finish button.

  6. Xander-Q repository is set up properly.


Return to Home

Last Updated: Wednesday, 11. October 2017
Contact: Clement Chu